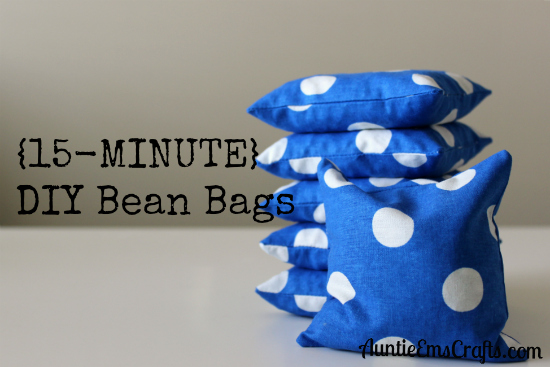
A few days ago I picked up a wooden bean bag game from a Facebook Yard Sale group. When I went to pick the game up, the seller told me the set did not come with bags. It wasn’t a deal breaker, but would have been nice to know ahead of time. Luckily, I had a few hours before family came over that night so I knew I had some time to whip together some DIY bean bags.
I grabbed a fat quarter from my stash that coordinated with the game board. I folded it in half length wise, then cut 6 sets of 5″ squares.
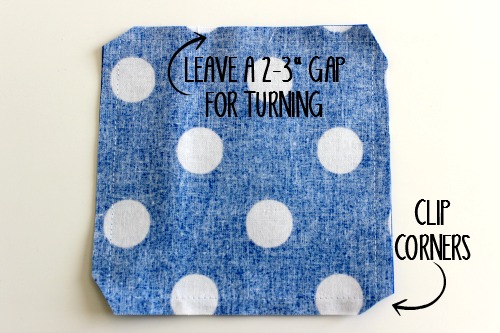
I placed the right sides together and sewed around the squares with my 1/4″ piecing foot, leaving a 2-3″ gap. Before turning the bags right side out, I clipped the excess fabric from the corners.
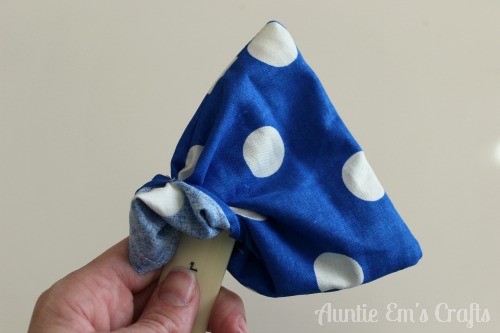
I turned the bags right side out through the opening. I used a bone folder (scrapbooking tool) to poke my corners out but you can use a chopstick, pencil, or other pointy item.
After getting them all turned, I ironed them to get them nice and flat. I paid particular attention to the openings, to make sure the fabric was flush.
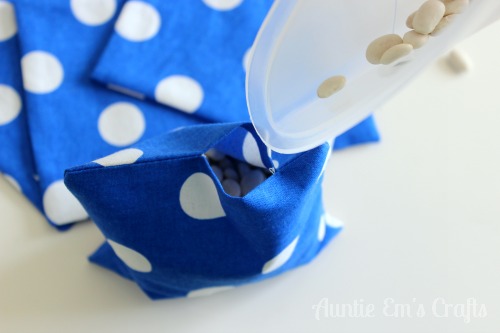
I had some leftover dry beans in the kitchen from a Pinterest project last fall. I don’t have a funnel so I used a container with a pour spout at the end to get the beans into the bags. I would estimate about 1 cup of beans in each bag.
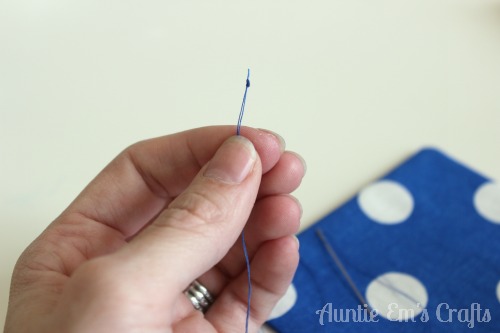
I wanted to be sure the thread would hold up from the abuse the bags would likely endure so I doubled it up and double knotted it.
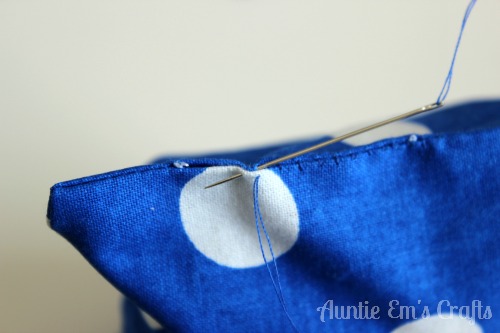
I began hand stitched the openings.
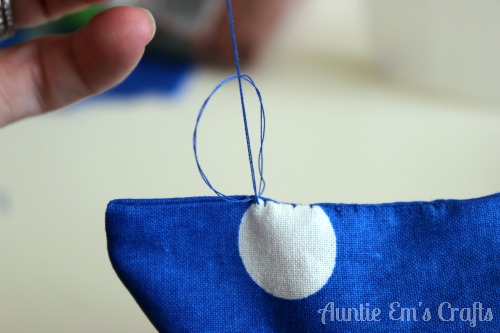
I tied two knots at the end before cutting the thread.
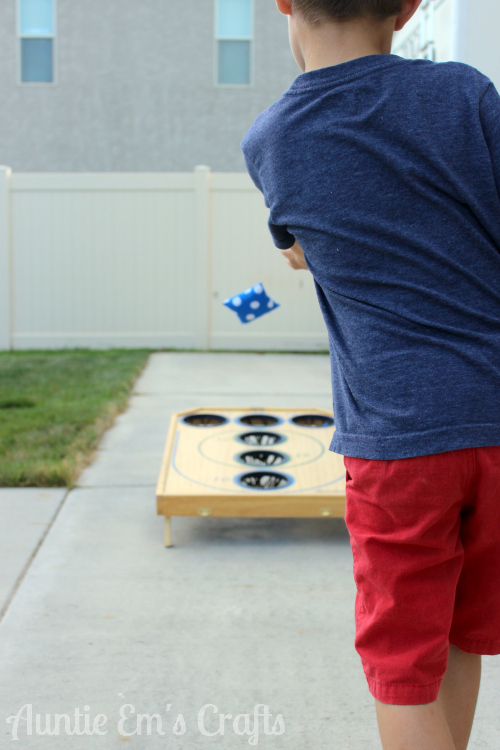
Each bean bag took less than 15 minutes to make. I finished right on time before our family showed up. My son was definitely a happy camper with his new game, and his cousins seemed to enjoy it too. This project was so quick that I think I’ll make a set for our corn hole set too 🙂
Auntie Em

Leave a Reply