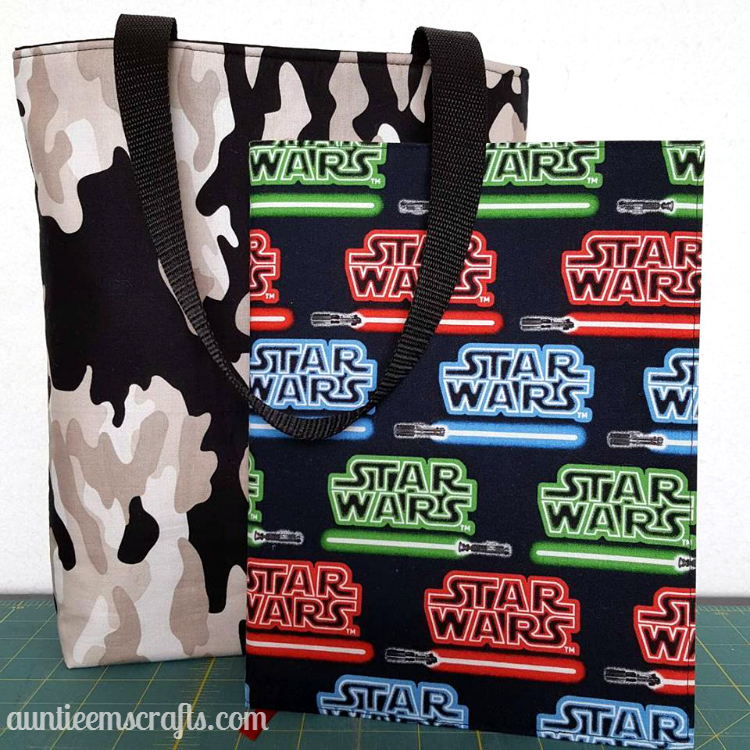
My son brought home a composition notebook from school for writing his 2nd grade journal entries. It was plain black and white, and well, just boring. I thought I could spruce it up for him with a cool notebook cover. I made him a Star Wars one as part of his Easter gift. (The bag is handmade too, with my tutorial here.)
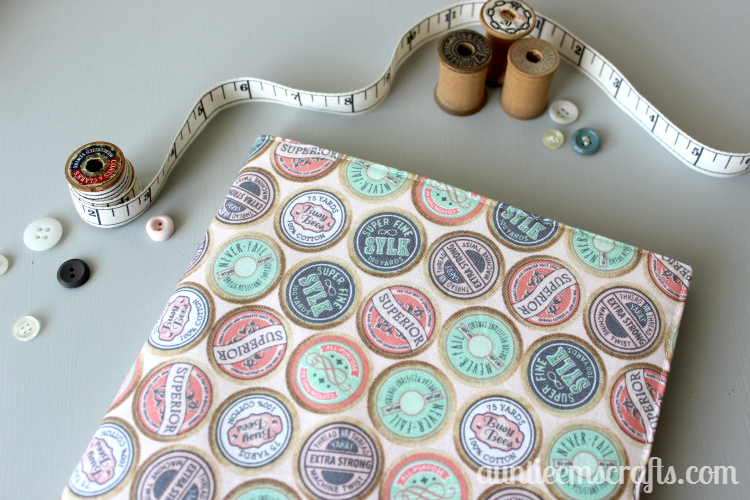
I use my own composition book for storing business information, blog post ideas, website logins, etc. so I wanted to make one for myself with cute vintage spool fabric!
The covers are easy for beginners and make a great gift idea. You can make your own in under 30 minutes, cutting included.
Here is what you’ll need:
11″ x 21.5″ in each a main fabric, a liner, and a lightweight interfacing (see bottom of the post for more info)
12″ ribbon (optional)
9.75″ x 7.5″ composition notebook
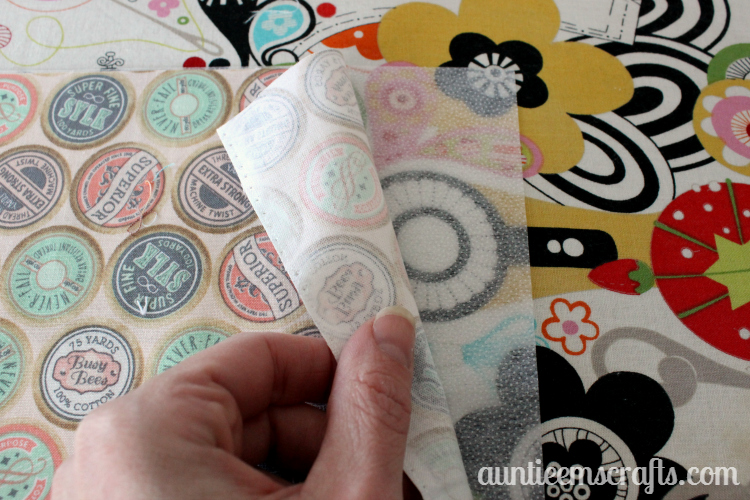
1. Iron the interfacing to the back of the main fabric.
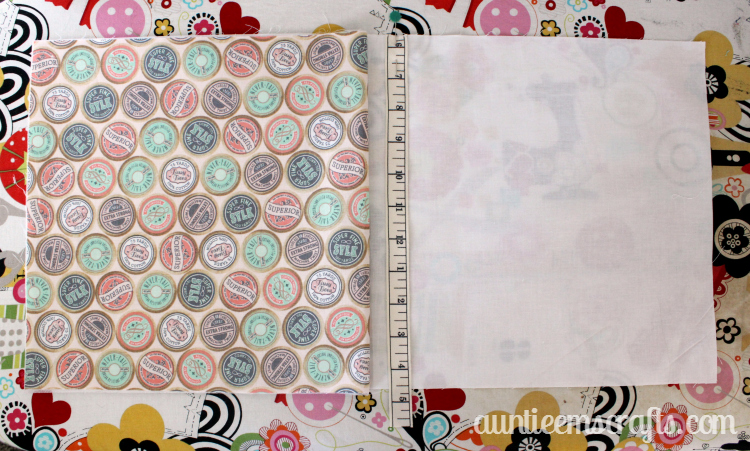
2. Place the liner down, then put the main fabric face down on top of the liner. Fold half of the main fabric to the left side. Set the ribbon face up (so that it will face the main print) approximately .5″ to the right of the center and pin it in place at the top. Fold the bottom of the ribbon up a few inches so that when you sew around the cover the ribbon does not get stuck.
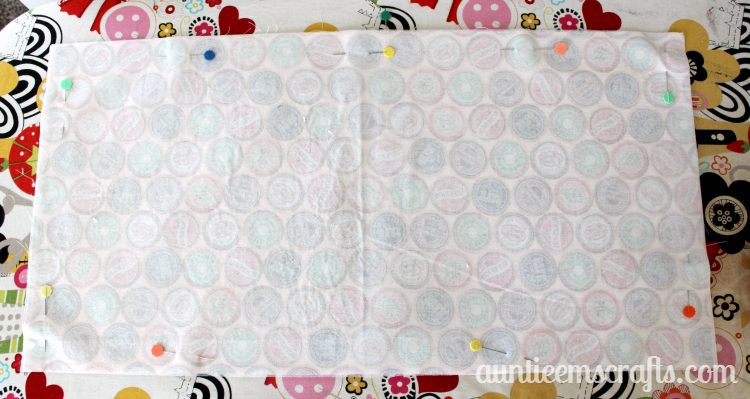
3. Place the main fabric back down on the right side. Pin the layers all the way around, leaving a space in the bottom right corner.
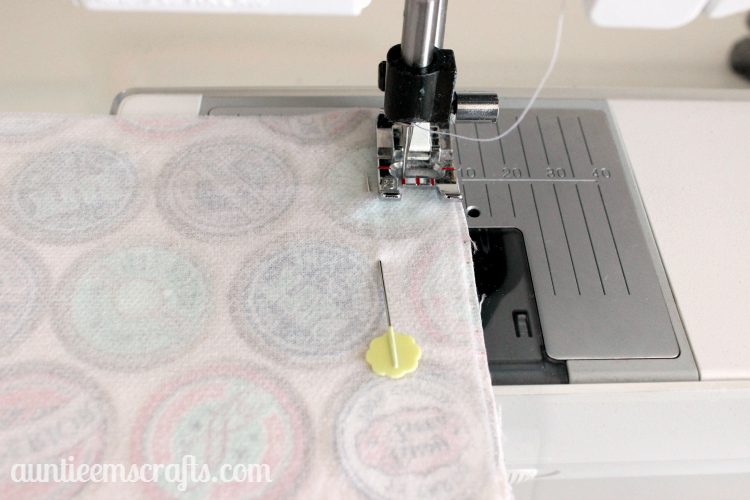
4. Begin sewing with a half inch seam allowance 3-4″ from the bottom right corner. Sew all the way around, stopping 2.5-3″ away from where you started. Back stitch or fix the stitch when you start and stop sewing. On my Viking machine, I use the B foot and move my needle to the left to -2.5.
5. Trim the fabric in the corners.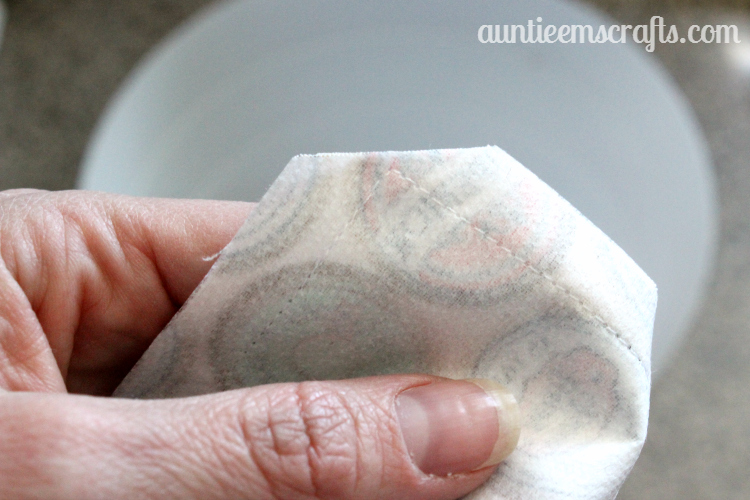
6. Flip the cover right side out. Use a pointy tool to push out the corners .
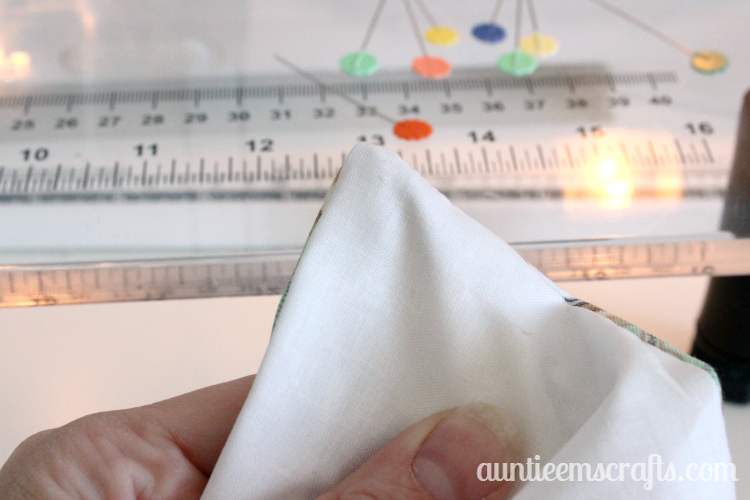
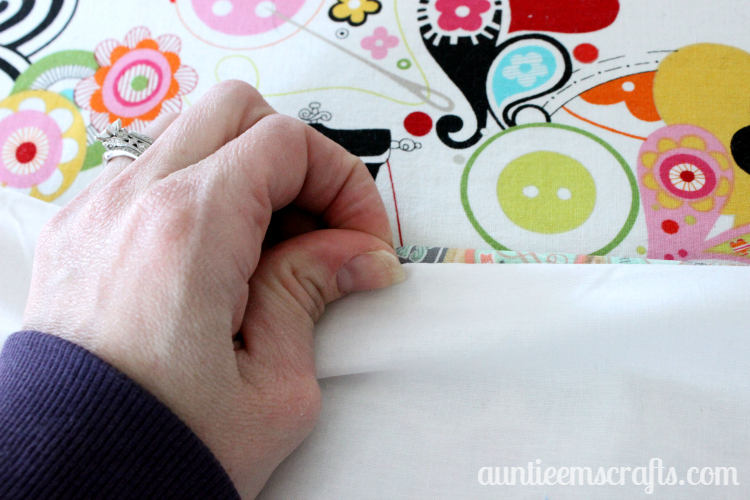
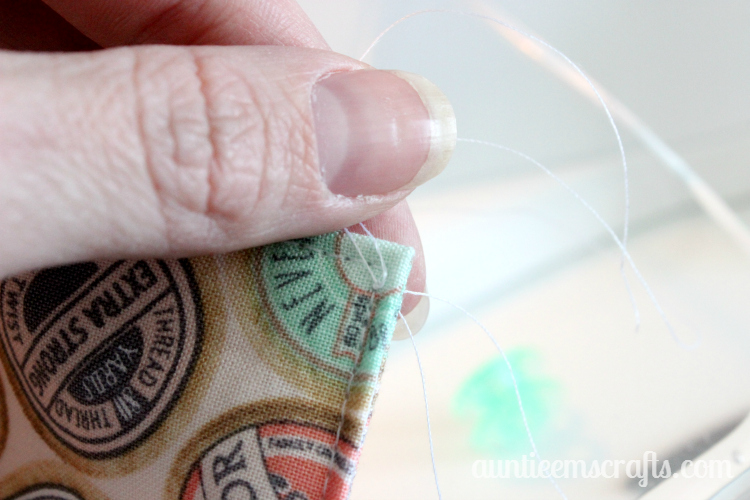
7. Take the cover back to your ironing board. Use your fingernails to pull the fabric up at the seam about every inch to two inches and iron the seam as you go. You may need to turn the cover clockwise as you work. This gives you a nice, professional look and will ensure your cover is the correct size when finished. Spray lightly with Best Press or starch and iron both sides.
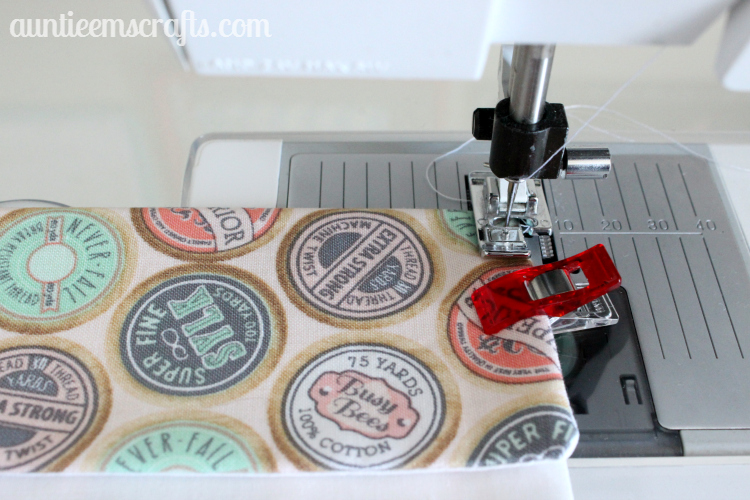
8. With the liner face up, fold the left and right side towards the center by 2 3/8″. Use pins or Wonder Clips to hold them in place. Measure the cover left to right to make sure it is exactly 15.5″ wide. Make any adjustments on the folds as necessary. If you accidentally make the cover slightly too small, you can trim a 1/8″ sliver off the back of the book to make it fit.
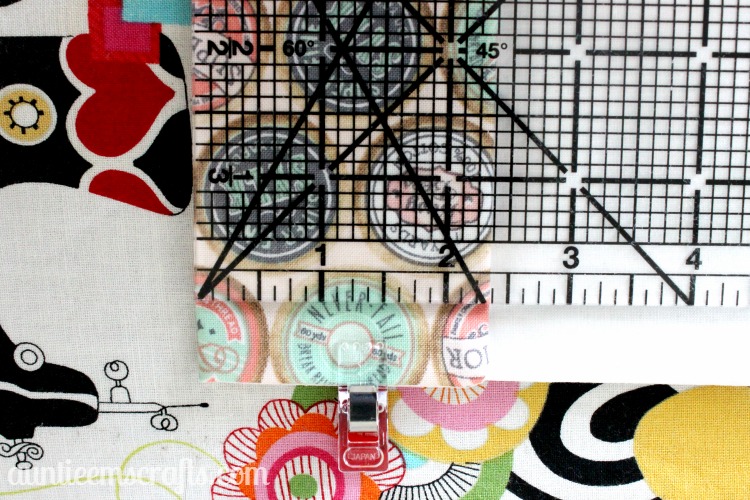
9. Starting in the corner with the opening, sew an 1/8″ seam allowance all the way around. I like to increase my stitch length, just sightly, when top stitching. On my Viking, I use the J foot and move my needle to the left to -1.0.
10. When you get all the way around, tie the strings in a double knot on the front and back.
That’s it! Easy peasy, right? By the way, if you like my fabric, it is from Sew Charming by Bo Bunny for Riley Blake. I used Clean White for the liner.
Are you a professional crafter? Here are some tips:
These notebook covers sell well at craft shows. To make them in bulk, cut your fabrics at 11″ straight from the bolt, then turn the fabric and make cuts at 0″ and 21.5″. This gives you two books. If your pattern runs parallel to the selvage, make the cut at 21.5″ first instead, then you will get three or four books depending on the width of the fabric.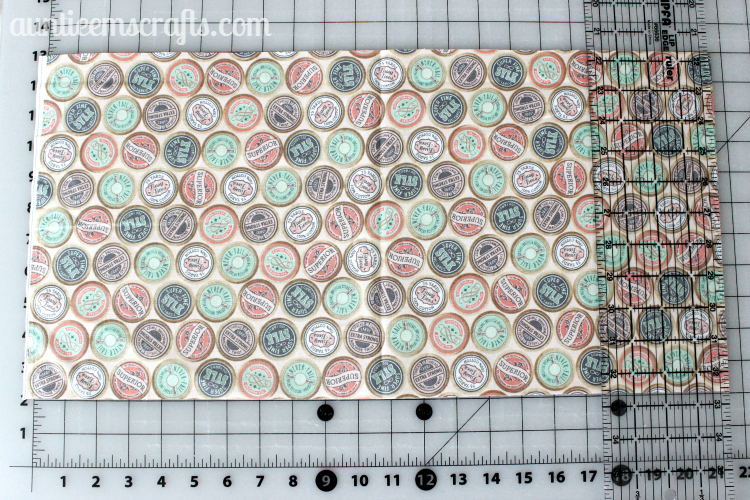
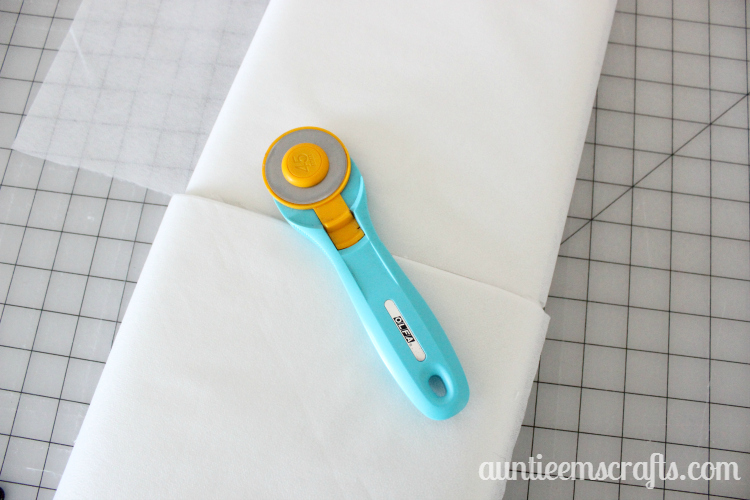
Purchasing a bolt when it is half off will allow you to make MANY book covers, then you don’t have to calculate how many yards you need for a certain number of books. I use Pellon P44F fusible interfacing. To save a lot of time on cutting the interfacing, place a Shape Cut Ruler on top of the bolt and cut the interfacing at 11.5″ all the way around (this makes sure it is big enough for the books). If you use a new blade, it will cut through the interfacing with ease. You can then save the remaining 8.5″ on the bolt for future crafts.
If you sew them assembly line style, you can save time from switching presser feet and moving your needle. I like to make about 10 at a time, then continue with another stack. I was able to sew up 50 books for a craft show in just a few days.
Whether you end up making one cover or twenty, these notebook covers are sure to be a hit!

Love this idea….could u do a I-pad cover..
I could add it to my to-do list, but in the mean time, there are several cute ones on pinterest. Here is one I liked: https://www.pinterest.com/pin/249316529348488046/